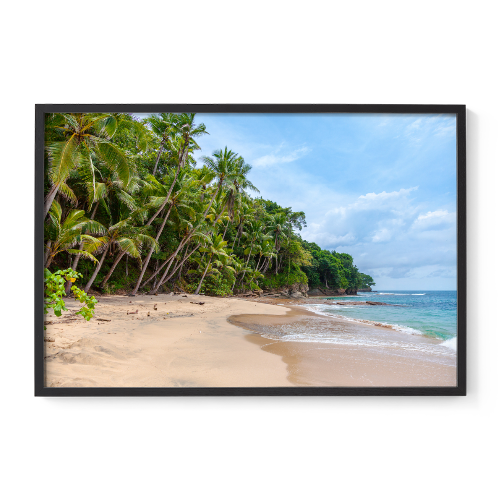
How to build framed canvas with sizes and color on Shopify product page (Product options and variants)

Shopify apps used in this Template


If you're selling framed canvases and want to offer your customers a way to visualize how their image or design will look in various sizes and colors, then this blog is for you! We’ll guide you through setting up a Shopify product page where customers can upload their images and see live previews of how their design looks with different frame sizes and colors. Plus, you’ll learn how to set different prices for various sizes to match your product options. Let’s get started on transforming your Shopify store into a more interactive and customizable shopping experience!

 Let's delve into the process and explore how it works.

(You can also check out the demo product at the end of this blog.)

Steps to build framed canvas with sizes and colors.

1. Install the App

2. Select a Template or add new product Option 

  • You can use a template to speed things up or create options from scratch.
  • Choose the product you want to customize. You can select a single product or multiple products.
  • In this particular example,We will use an upload button so customers can upload their own design or image, along with color swatches that allow them to select the frame color.
  • The size variants are already set up in the Shopify products.

3. Create conditional logic

  • We only need to create conditional logic in the live preview section. We will connect the layers with the variant sizes so that each specific layer appears only when the customer selects the corresponding variant size.

4. Enable Live Preview

  • We will create a total of eight layers: four layers to display the uploaded image and four layers to showcase the different frame colors.
  • For the 120 by 80 size, follow these steps: First, create an upload layer by setting its type to "upload" and connect it to the upload button in the product options. This layer will allow customers to upload their own images or designs. Next, create a separate layer for frame colors. Connect this layer to the frame color options, and for each color (total of three), add a PNG mask that represents the frame in that color. The uploaded image will be displayed on the lower layer, while the frame color masks will overlay it on the upper layer, giving customers a realistic preview of how their image will look in different frame colors and sizes.  
  • In the conditions for both layers, connect them with the variant size of 120 by 80. This setup ensures that both the upload layer and the frame color layers will only be visible when the 120 by 80 size variant is selected by the customer.
  •  We will apply the same setup for the other three sizes. For each size variant, create an upload layer and frame color layers, and connect them to the respective size variant. Ensure that each layer setup is specifically linked to its corresponding size, so the correct upload image and frame color masks appear when a customer selects each size variant.

5. Activate and Save

  • Once everything looks good, activate the custom options and save your changes.

And that's it! 


Now your customers can see how their designs look on a framed canvas in different sizes and colors.

You can also try the template below.

Happy selling!


Framed canvas with different sizes and colors

Example template to show a customer upload in a framed canvas with different sizes and colors. The frame sizes and colors are configured as overlay layers.


FAQ

Q: How do I connect layers to size variants?
A:
Create conditional logic to link each upload layer and frame color layer to the respective size variant. This ensures that the layers for the selected size are displayed in the preview, while others remain hidden.

Q: How does the framed canvas feature work with different sizes and colors?
A:
The framed canvas feature allows customers to upload their images and see them displayed with various frame sizes and colors. Each size and color option is linked to different layers, enabling customers to preview their designs realistically as framed canvases.

Q: What is a PNG mask, and how does it work in the live preview?
A:
A PNG mask is an image file with transparency that outlines the frame's size and shape. In the live preview, these masks are layered over the customer’s uploaded image. The transparent inner area of the mask reveals how the image will look when framed, giving a realistic preview of the final product.

Q: Do I need any coding skills to add this feature?
A:
No coding skills are required. The Live Product Options App provides user-friendly tools to set up the feature without needing to write any code.

Q: What if I encounter issues while setting up the feature?
A:
If you encounter any issues, you can refer to the app's support documentation or contact our customer support for assistance.