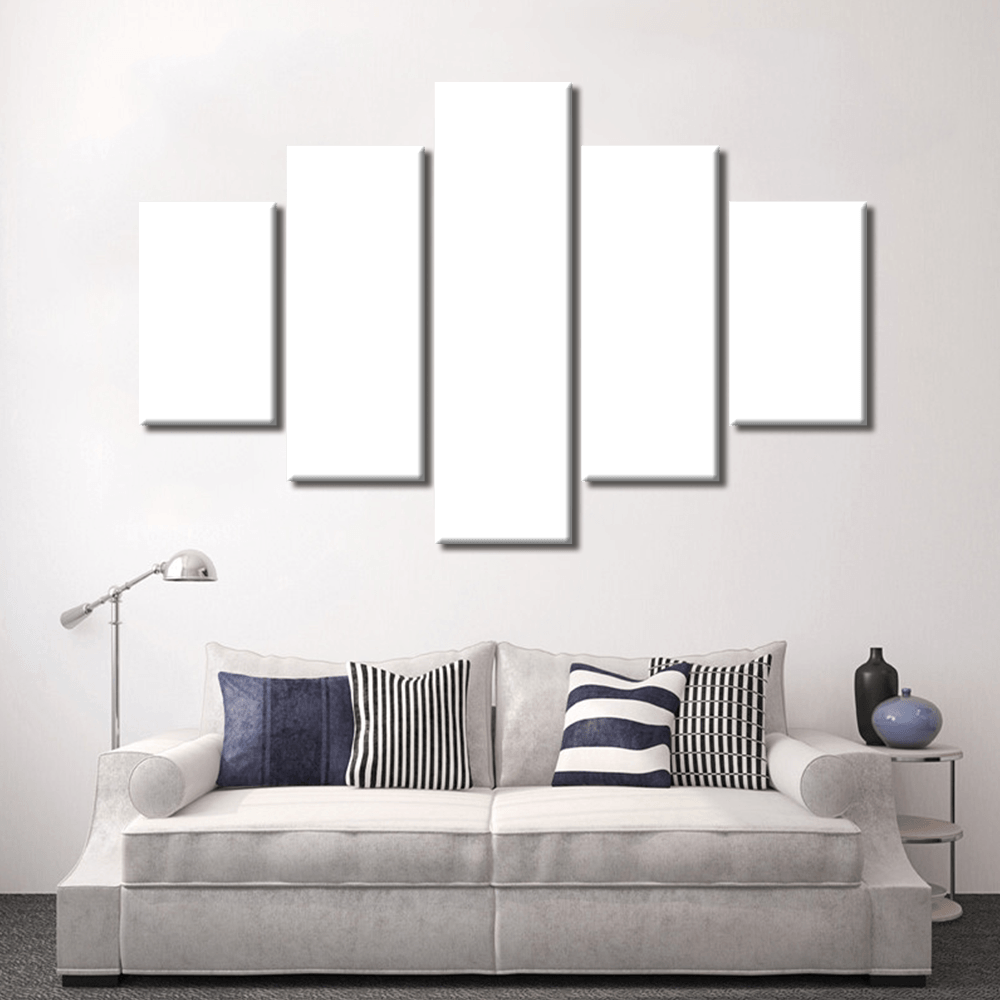
Imagine offering a personalized shopping experience where customers can upload their images and see a live preview of the final product before hitting that 'Buy' button.
In this blog, we'll dive into creating a split photo canvas product page on Shopify, complete with a live preview feature. Not only will this add a unique touch to your store, but it will also elevate the shopping experience, making it more interactive and enjoyable for your customers.
So let's delve into the process and explore how it works.
(You can also check out the demo product at the end of this blog.)
Steps to build a Split Photo canvas with live preview.
1. Install the App
2. Select a Template or add new product Option
- You can use a template to speed things up or create options from scratch.
- Choose the product you want to customize. You can select a single product or multiple products.
- In this specific example, we only require an upload button option. You can also consider charging extra for this customization.
3. Create conditional logic
- We don't necessarily require conditional logic for customizing canvases. However, if you wish to offer additional options and display choices based on customer selections, then conditional logic can be utilized.
4. Enable Live Preview
- Enable the live preview feature in the app settings. Select the areas where you want customers to place the image. Additionally, this functions as a mockup, so ensure the product image has a transparent canvas area. You can review the template settings to understand how this operates, and I've also explained it in the video.
5. Activate and Save
- Once everything looks good, activate the custom options and save your changes.
And that's it!
Now your customers can see how their designs look on a Split Photo canvas on the wall. You can also try the template below.
Happy selling!


